Diffusers documentation
레거시 어댑터
레거시 어댑터
이러한 메서드는 여전히 지원되며, 특히 Stable Diffusion 계열 체크포인트에서 많이 사용됩니다. 새로운 작업에는 LoRA, IP-Adapter, ControlNet 사용을 권장합니다.
T2I-Adapter
T2I-Adapter는 제어 가능한 생성을 위한 어댑터입니다. 제어 신호(예: 깊이 맵 또는 canny 엣지)에서 사전 학습된 모델의 내부 특징으로의 매핑을 학습하고, 생성 과정에서 해당 가이드를 추가합니다. 역할은 ControlNet과 유사하지만, 더 가벼운 플러그인 어댑터입니다.
컨트롤 조건부 어댑터를 로드한 후, from_pretrained()로 파이프라인을 로드하고 adapter=를 전달합니다.
import torch
from diffusers import T2IAdapter, StableDiffusionXLAdapterPipeline, AutoencoderKL

t2i_adapter = T2IAdapter.from_pretrained(
    "TencentARC/t2i-adapter-canny-sdxl-1.0",
    dtype=torch.float16,
)opencv-python으로 canny 이미지를 생성합니다.
import cv2
import numpy as np
from PIL import Image
from diffusers.utils import load_image

original_image = load_image(
    "https://huggingface.co/datasets/huggingface/documentation-images/resolve/main/diffusers/non-enhanced-prompt.png"
)

image = np.array(original_image)

low_threshold = 100
high_threshold = 200

image = cv2.Canny(image, low_threshold, high_threshold)
image = image[:, :, None]
image = np.concatenate([image, image, image], axis=2)
canny_image = Image.fromarray(image)
이미지를 파이프라인에 전달하여 이미지를 생성합니다.
vae = AutoencoderKL.from_pretrained("madebyollin/sdxl-vae-fp16-fix", dtype=torch.float16)
pipeline = StableDiffusionXLAdapterPipeline.from_pretrained(
    "stabilityai/stable-diffusion-xl-base-1.0",
    adapter=t2i_adapter,
    vae=vae,
    dtype=torch.float16,
).to("cuda")  # or "mps", "xpu", "cpu"

prompt = """
A photorealistic overhead image of a cat reclining sideways in a flamingo pool floatie holding a margarita.
The cat is floating leisurely in the pool and completely relaxed and happy.
"""

pipeline(
    prompt,
    image=canny_image,
    num_inference_steps=100,
    guidance_scale=10,
).images[0]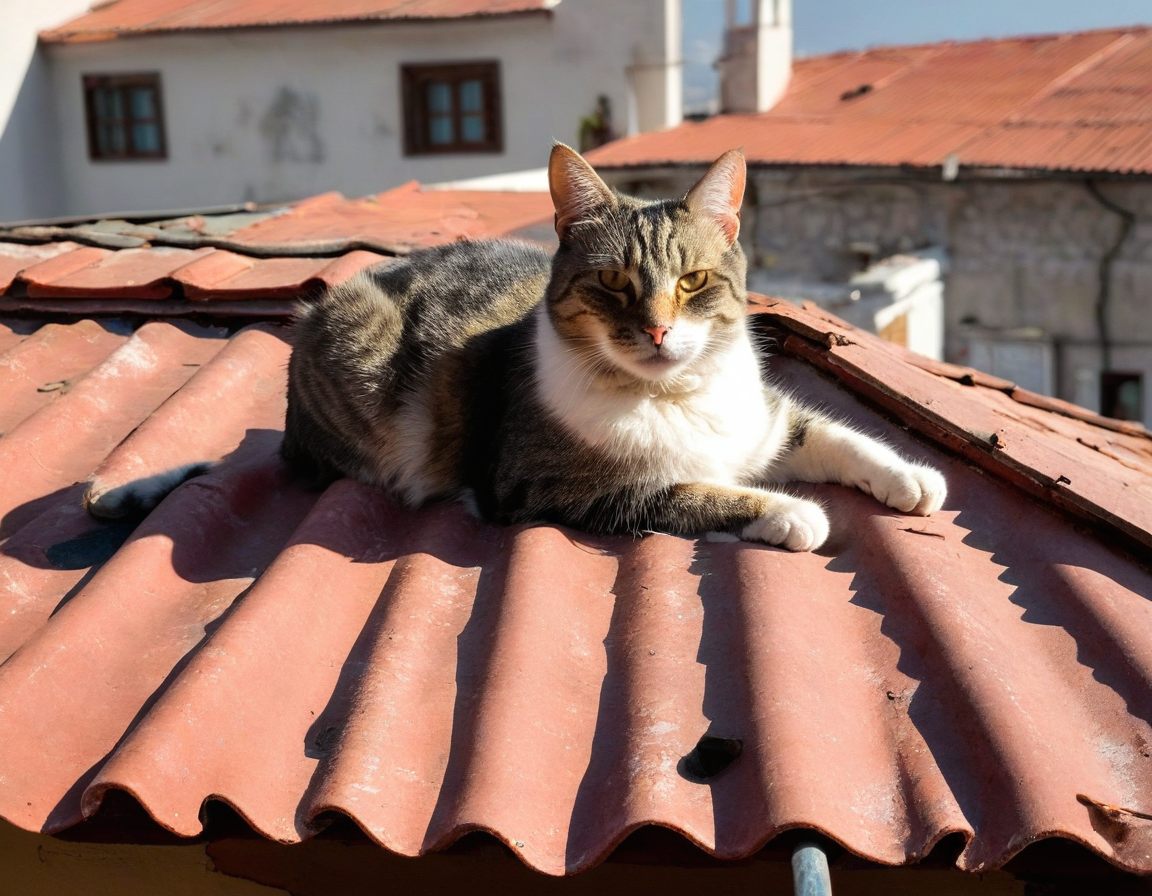


T2I-Adapter 학습도 참고하세요.
MultiAdapter
여러 컨트롤(예: canny와 depth)을 MultiAdapter로 조합합니다. 어댑터 목록을 MultiAdapter에 전달한 후, 매칭되는 컨트롤 이미지 목록을 파이프라인에 전달합니다.
import torch
from diffusers.utils import load_image
from diffusers import StableDiffusionXLAdapterPipeline, AutoencoderKL, MultiAdapter, T2IAdapter

canny_image = load_image(
    "https://huggingface.co/datasets/huggingface/documentation-images/resolve/main/diffusers/canny-cat.png"
)
depth_image = load_image(
    "https://huggingface.co/datasets/huggingface/documentation-images/resolve/main/diffusers/sdxl_depth_image.png"
)
controls = [canny_image, depth_image]
prompt = ["""
a relaxed rabbit sitting on a striped towel next to a pool with a tropical drink nearby,
bright sunny day, vacation scene, 35mm photograph, film, professional, 4k, highly detailed
"""]

adapters = MultiAdapter(
    [
        T2IAdapter.from_pretrained("TencentARC/t2i-adapter-canny-sdxl-1.0", dtype=torch.float16),
        T2IAdapter.from_pretrained("TencentARC/t2i-adapter-depth-midas-sdxl-1.0", dtype=torch.float16),
    ]
)StableDiffusionXLAdapterPipeline에 어댑터, 프롬프트, 제어 이미지를 전달합니다. 각 제어에 부여할 가중치를 결정하려면 adapter_conditioning_scale 매개변수를 사용합니다.
vae = AutoencoderKL.from_pretrained("madebyollin/sdxl-vae-fp16-fix", dtype=torch.float16)
pipeline = StableDiffusionXLAdapterPipeline.from_pretrained(
    "stabilityai/stable-diffusion-xl-base-1.0",
    dtype=torch.float16,
    vae=vae,
    adapter=adapters,
).to("cuda")  # or "mps", "xpu", "cpu"

pipeline(
    prompt,
    image=controls,
    height=1024,
    width=1024,
    adapter_conditioning_scale=[0.7, 0.7]
).images[0] 

Textual Inversion
Textual Inversion은 3~5개의 이미지에서 추출한 개념으로 모델을 개인화하기 위해 고유 토큰(<sks>)에 바인딩된 단어 임베딩을 미세 조정하는 방법입니다. 이후 프롬프트에서 해당 토큰을 사용하여 해당 개념(예: 픽셀 아트)을 생성할 수 있습니다.
Textual Inversion 가중치는 단어 임베딩만 포함하므로 일반적으로 몇 KB에 불과합니다. from_pretrained() 호출 후 load_textual_inversion()로 로드하고, 프롬프트에 고유 토큰을 포함하여 생성을 트리거하세요.
import torch
from diffusers import AutoPipelineForText2Image

pipeline = AutoPipelineForText2Image.from_pretrained(
    "stable-diffusion-v1-5/stable-diffusion-v1-5",
    dtype=torch.float16
).to("cuda") # or "mps", "xpu", "cpu"pipeline.load_textual_inversion("sd-concepts-library/gta5-artwork")
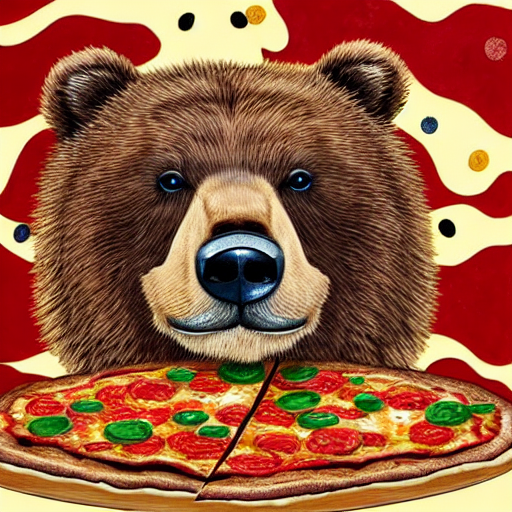
prompt = "A cute brown bear eating a slice of pizza, stunning color scheme, masterpiece, illustration, <gta5-artwork> style"
pipeline(prompt).images[0]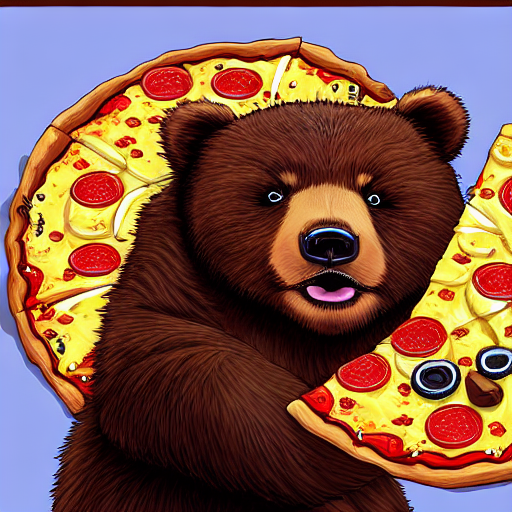
임베딩을 학습하려면 텍스트 인버전 학습을 참고하세요.
Textual Inversion은 “blurry”나 “ugly”와 같이 원치 않는 특성을 피하도록 생성을 유도하기 위해 negative embeddings을 학습하도록 훈련할 수도 있으며, 이를 통해 이미지 품질을 개선하는 데 유용합니다.
EasyNegative은 여러 학습된 부정 개념을 포함하는 널리 사용되는 negative embedding입니다. negative embeddings를 로드하고 negative embeddings와 연관된 파일 이름 및 토큰을 지정하세요. 파이프라인의 negative_prompt에 해당 토큰을 전달하여 활성화합니다.
import torch
from diffusers import AutoPipelineForText2Image

pipeline = AutoPipelineForText2Image.from_pretrained(
    "stable-diffusion-v1-5/stable-diffusion-v1-5",
    dtype=torch.float16
).to("cuda")  # or "mps", "xpu", "cpu"
pipeline.load_textual_inversion(
    "EvilEngine/easynegative",
    weight_name="easynegative.safetensors",
    token="easynegative"
)
prompt = "A cute brown bear eating a slice of pizza, stunning color scheme, masterpiece, illustration"
negative_prompt = "easynegative"
pipeline(prompt, negative_prompt=negative_prompt).images[0]