
Transformers documentation
مطابقة النقاط الرئيسية
مطابقة النقاط الرئيسية
يقوم مطابقة النقاط الرئيسية (Keypoint matching) بمطابقة نقاط اهتمام مختلفة تنتمي إلى نفس الكائن الظاهر في صورتين مختلفتين. تستقبل معظم مطابقات النقاط الرئيسية الحديثة الصور كمدخلات وتُخرج ما يلي:
- إحداثيات النقاط الرئيسية (x,y): إسقاط واحد لواحد لإحداثيات البكسلات بين الصورة الأولى والصورة الثانية باستخدام قائمتين. تُطابَق كل نقطة رئيسية عند فهرس معيّن في القائمة الأولى مع النقطة الرئيسية عند نفس الفهرس في القائمة الثانية.
- درجات التطابق: الدرجات المخصصة لمطابقات النقاط الرئيسية.
في هذا الشرح التعليمي، ستستخرج تطابقات النقاط الرئيسية باستخدام نموذج EfficientLoFTR المدرَّب عبر إطار MatchAnything، ثم تحسّن هذه التطابقات. يحتوي هذا النموذج على 16 مليون معامل فقط ويمكن تشغيله على وحدة المعالجة المركزية. ستستخدم فئة AutoModelForKeypointMatching.
from transformers import AutoImageProcessor, AutoModelForKeypointMatching
import torch

processor = AutoImageProcessor.from_pretrained("zju-community/matchanything_eloftr")
model = AutoModelForKeypointMatching.from_pretrained("zju-community/matchanything_eloftr")
حمّل صورتين تحتويان على نفس الكائن محل الاهتمام. تم التقاط الصورة الثانية بعد ثانية واحدة، وتم تعديل ألوانها، كما تم اقتطاعها بشكل أكبر وتدويرها.
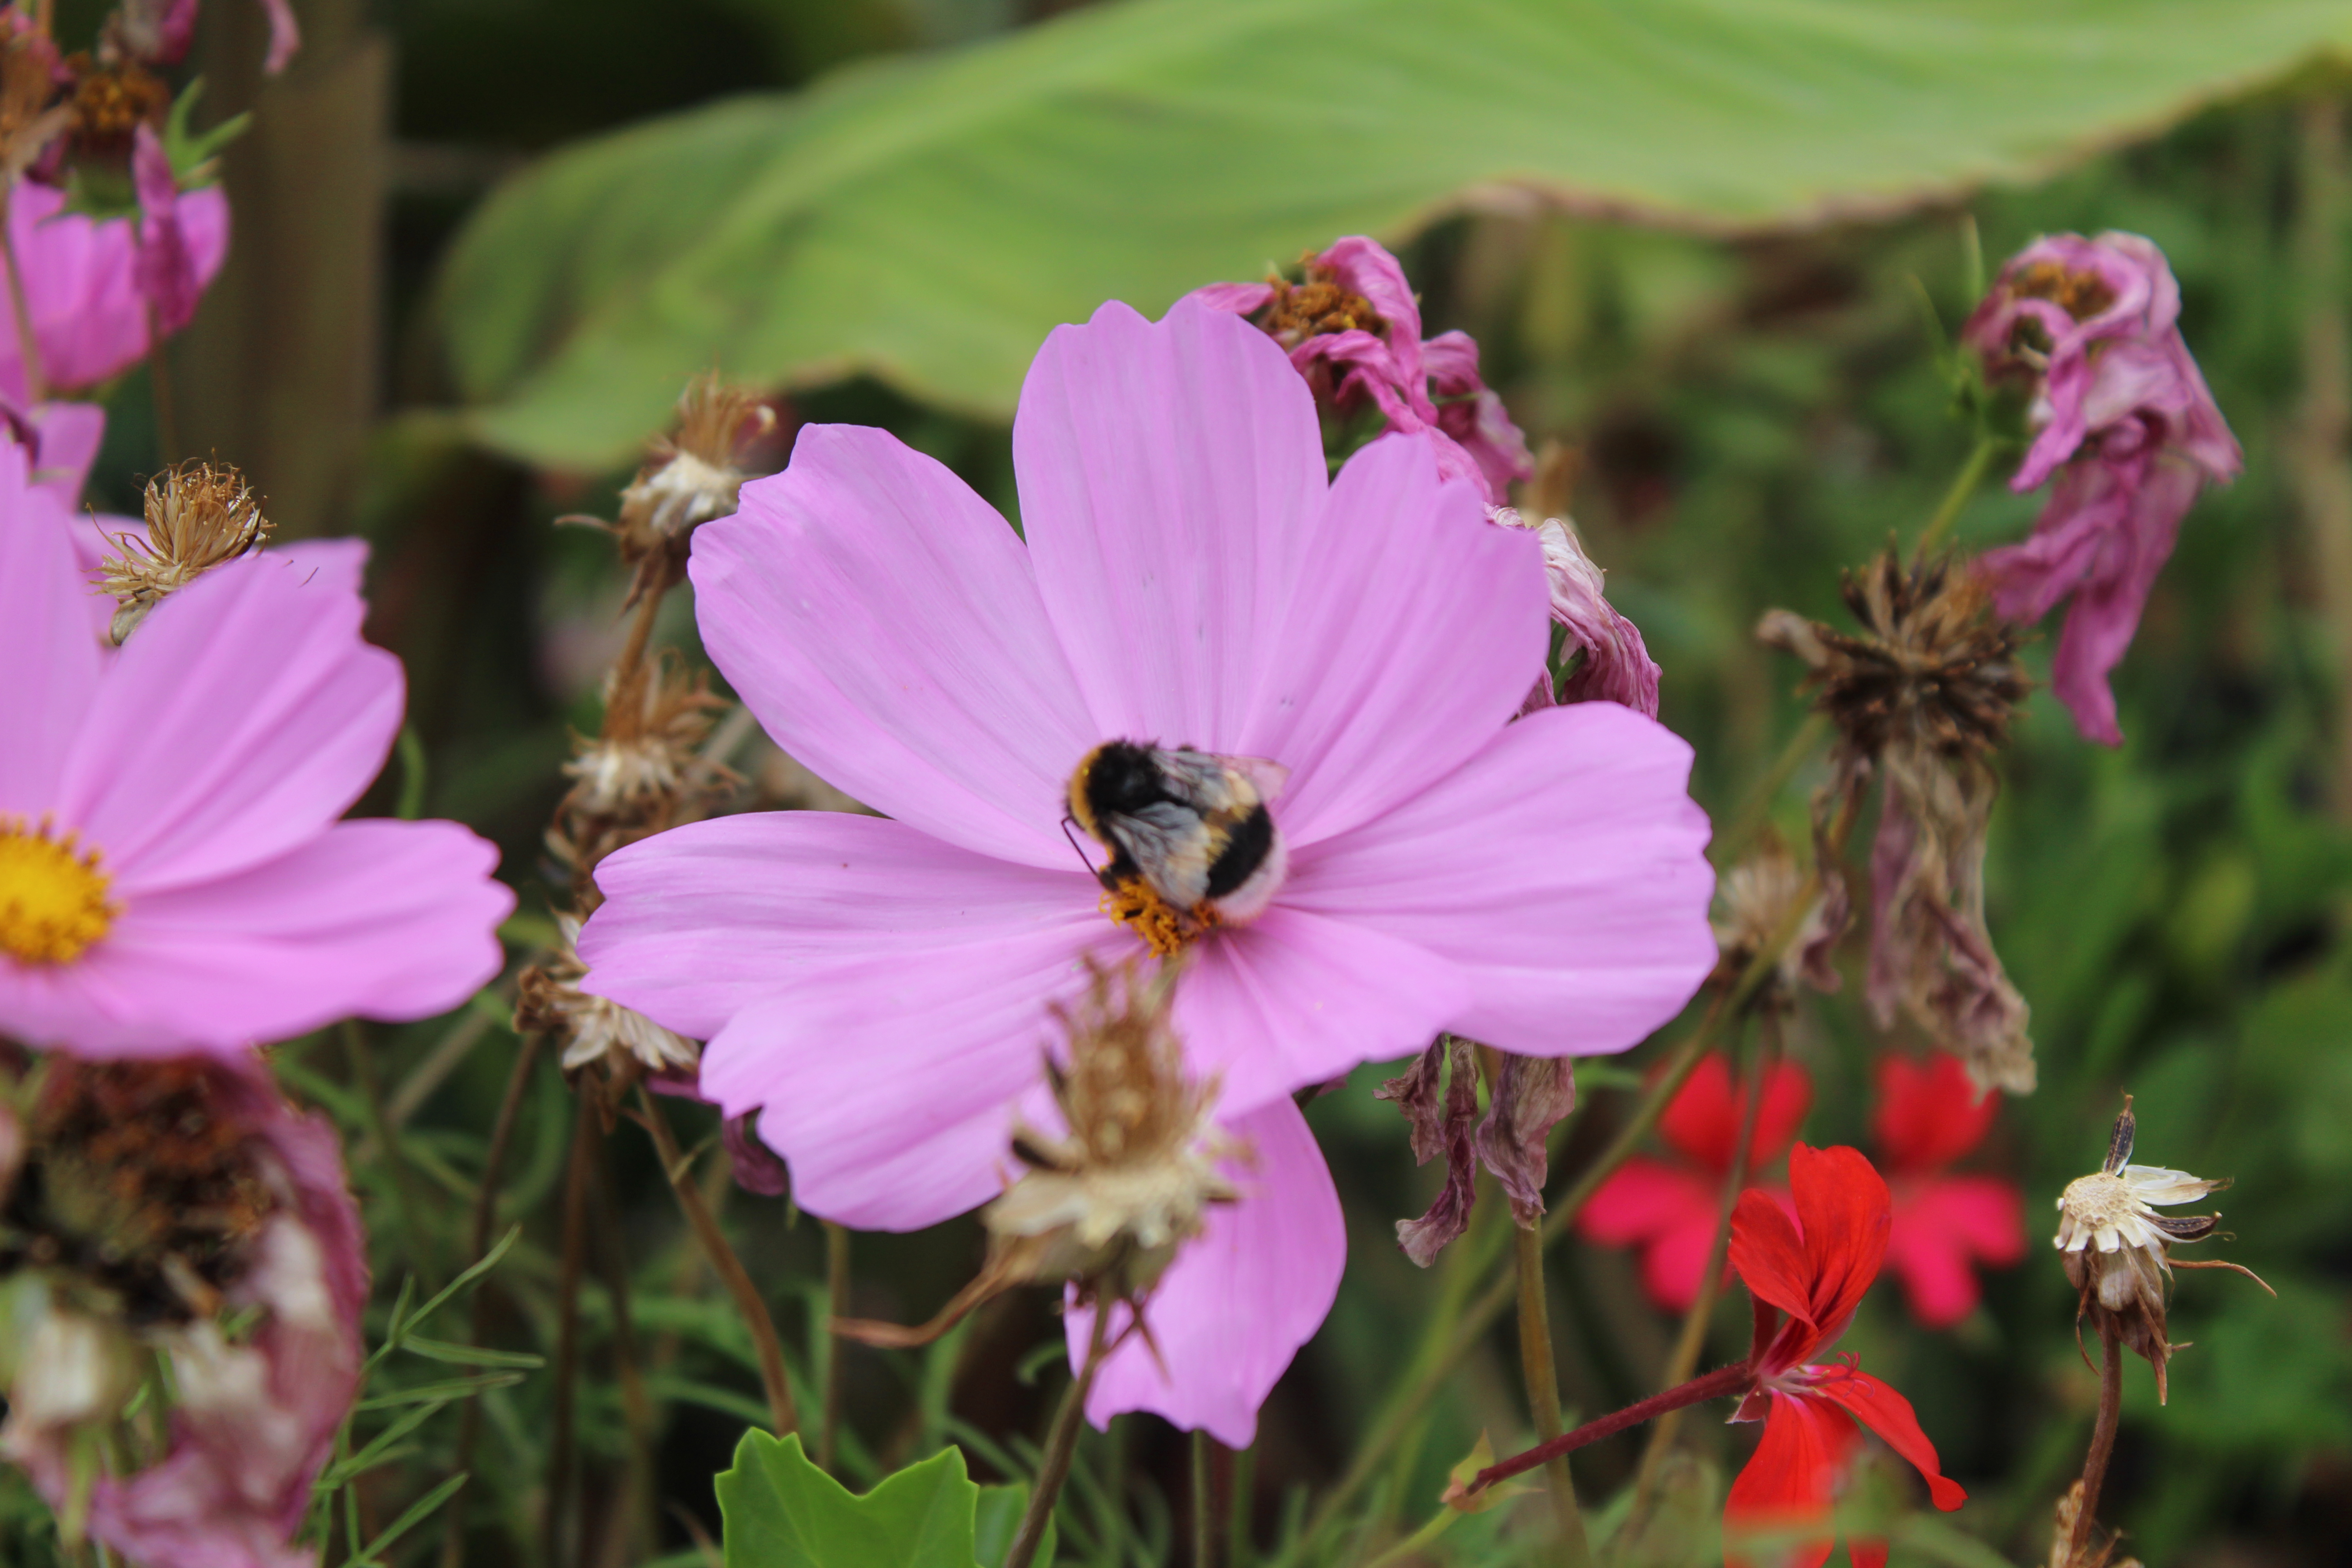

from transformers.image_utils import load_image
image1 = load_image("https://huggingface.co/datasets/huggingface/documentation-images/resolve/main/bee.jpg")
image2 = load_image("https://huggingface.co/datasets/huggingface/documentation-images/resolve/main/bee_edited.jpg")

images = [image1, image2]
يمكننا تمرير الصور إلى المعالج والاستدلال عليها.
inputs = processor(images, return_tensors="pt")
with torch.no_grad():
    outputs = model(**inputs)
يمكننا معالجة المخرجات بعد التنفيذ. يُستخدم معامل threshold لتحسين الضوضاء (حدود الثقة المنخفضة) في التطابقات الناتجة.
image_sizes = [[(image.height, image.width) for image in images]]

outputs = processor.post_process_keypoint_matching(outputs, image_sizes, threshold=0.2)
print(outputs)
إليك المخرجات.
[{'keypoints0': tensor([[4514,  550],
          [4813,  683],
          [1972, 1547],
          ...
          [3916, 3408]], dtype=torch.int32),
  'keypoints1': tensor([[2280,  463],
          [2378,  613],
          [2231,  887],
          ...
          [1521, 2560]], dtype=torch.int32),
  'matching_scores': tensor([0.2189, 0.2073, 0.2414, ...
    ])}]
لقد قمنا بتقليص المخرجات، لكن هناك 401 تطابقًا!
len(outputs[0]["keypoints0"])
# 401
يمكننا تصورهم باستخدام طريقة visualize_keypoint_matching() الخاصة بالمعالج.
plot_images = processor.visualize_keypoint_matching(images, outputs)
plot_images

يمكنك اختيارياً استخدام واجهة Pipeline البرمجية وتحديد المهمة على أنها keypoint-matching.
from transformers import pipeline

image_1 = "https://huggingface.co/datasets/huggingface/documentation-images/resolve/main/bee.jpg"
image_2 = "https://huggingface.co/datasets/huggingface/documentation-images/resolve/main/bee_edited.jpg"

pipe = pipeline("keypoint-matching", model="zju-community/matchanything_eloftr")
pipe([image_1, image_2])
يبدو المخرج على النحو التالي.
[{'keypoint_image_0': {'x': 2444, 'y': 2869},
  'keypoint_image_1': {'x': 837, 'y': 1500},
  'score': 0.9756593704223633},
 {'keypoint_image_0': {'x': 1248, 'y': 2819},
  'keypoint_image_1': {'x': 862, 'y': 866},
  'score': 0.9735618829727173},
 {'keypoint_image_0': {'x': 1547, 'y': 3317},
  'keypoint_image_1': {'x': 1436, 'y': 1500},
  ...
 }
]